
By Tonya Warren
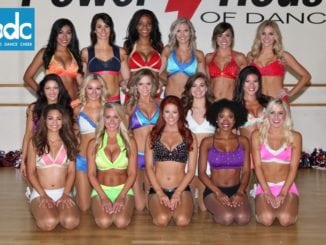
It’s the week of auditions and you have everything ready to go: the outfit, the shoes, the spray tan, and the hair. There’s only one thing left to do – your makeup! You want to look your best throughout the entire process, so you need a look that is easy to touch-up and brings out your best features. Let’s go through step-by-step, and I’ll give you my favorite tips and product recommendations!
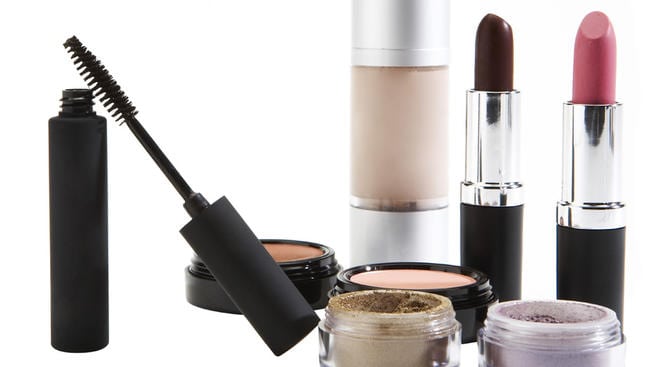
EYES & BROWS
I like to start with eyes and brows so I can clean up any shadow fallout without messing up then rest of my face. For your eyelids, start with a primer. Depending on how dry or oily your skin is, this could just be your concealer, or a special product just for priming eyelids. This gives your shadow something to stick to and helps prevent creasing. For your eye shadow, try to stick with mostly matte colors. You’ll be having your picture taken ALOT, and you don’t want any weird reflections to show up on camera. This isn’t the time to try your favorite new cut-crease style or crazy smokey eye. You want to look like an enhanced version of your natural self – you’re just amping everything up a bit! Get used to putting on false lashes now and always have a backup pair and lash glue. Use a dark eyeliner to blend the falsies with your lashline. Use your favorite waterproof mascara to blend your lashes and coat your bottom lashes. Fill in your eyebrows! You DO NOT want an amped up eye look with no eyebrows! Practice lightly filling them in now in a flattering shape. Set them with a brow gel and your eyes are done!
Eye Shadow Primer: Too Faced Shadow Insurance Anti_Crease Eye Shadow Primer
Eye Shadow Palette: Lorac PRO Palate
Eye Liner: Stilla Stay All Day Waterproof Liquid Eye Liner
False Lashes: Ardell Glamour Black Multipack 105
Lash Glue: Ardell Duo Lash Adhesive – Clear
Mascara: Maybelline Volum’ Express The Falsies Waterproof Mascara
Brow Pencil: Anastasia Beverly Hills Brow Wiz Pencil
Brow Gel: Anastasia Beverly Hills Clear Brow Gel
FACE
Just like our eyes, we want to start by priming the face. I like to use something that is oil-free and made for long-wear. I tend to sweat pretty easily, so this helps everything stay put. After priming, apply your favorite concealer. I use a shade that is about two shades lighter under my eyes and one that is the same as my skin tone on any blemishes. This helps to highlight and bring some brightness back into the face. Make sure you blend!! Don’t have raccoon eyes in pictures! Set your concealer with a setting powder so that it won’t crease.Once this is set, you can either do your cream products, or go straight into powder. I use a cream contour stick, so I apply this first. Contour where you want the shadows of your face to appear deeper and elongated and then blend, blend, blend. Usually this is under your cheekbones, on the edges of your forehead, and on your jawline. I then use a powder foundation to set my cream products and even out my skintone. I prefer powder foundation because it won’t break up on my when I sweat and it’s easier to re-apply. Next, go in with your blush on the apples of your cheeks. If you have a rounder face, you can blend your blush back slightly towards your hairline to help elongate the face even more. If you are going to use highlighter, have a light hand! For the same reason that we aren’t using sparkles on our eyes, we aren’t using sparkles on our face. Go easy on the glow. Finally, set everything with a setting spray meant to oil control and mattify.
Trust me – your natural glow will
Face Primer: Benefit Cosmetics The POREfessional Face Primer
Eye Concealer: Maybelline Instant Age Rewind Eraser Dark Circle Treatment Concealer
Setting Powder: NYX Cosmetics Mineral “Set It and Don’t Fret It” Matte Finishing Power
Cream Contour Powder Foundation: NYX Cosmetics Wonder Stick
Powder Foundation: L’Oreal True Match Super Blendable Compact Make-Up SPF 17
Blush: NYX Cosmetics Hombre Blush
Highlighter: Anastasia Beverly Hills Glow Kit
Setting Spray: Urban Decay Cosmetics Travel Size All Nighter Makeup Setting Spray
For your lips, try to stick with a “my-lips-but-better” color. Anything too nude will wash you out,and anything too dark or red may look a little too “night on the town”. Stick with a nice dusty pink or mauve color that, again, makes it look like you have lips on camera! Use a slightly darker lipliner and fill in your entire lips – that way, if the lipstick starts to fade, you will still have some color showing up before you have a chance to reapply! I would stick with a matte or satin finish and stay away from any sticky kind of gloss. On your first hair flip, you’ll end up with a clump stuck to your lips and then you have to figure out how to get it out while dancing! Stay away from over-glossing and that’s one less thing to worry about!Lip Liner:
Lip Liner: Urban Decay 24/7 Glide-On Lip Pencil
Lipstick: Anastasia Beverly Hills Liquid Lipstick in Soft Lilac or Catnip
I hope you find this helpful as you prepare for your next audition! Makeup should be fun, so playaround and ask your dancer friends for feedback while you find your perfect look.
Good luck!